If you don't already have an email service provider (ESP), you can use Bluecore's built-in integration with SendGrid to send email campaigns.
Install the Bluecore SendGrid integration
To install the Bluecore integration on your Namespace, complete the following:
- In your Bluecore Namespace, navigate to
 Data Management > Integrations. The Integration page displays.
 - Click New Integration. The New Integration dialog box displays.
- Click Marketplace. The Marketplace list displays.
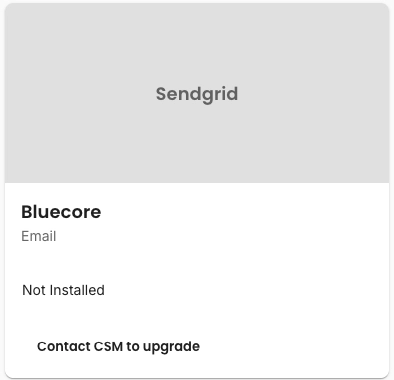
- Search for Bluecore and select the option that displays with Email.
- Click Install.
- On the Authentication tab, add the Username, Password, and API Key.
- Click Connect. The integration is now ready to use.
 Data Management > Integrations. The Integration page displays.
Campaign message configurations
You can configure the integration on the Campaign tab. Bluecore recommends the following configuration settings:
- Global Configurations tab
- Use in-house tracking set to false
- Rate limit is -1
- Excluded domains for both triggered and promotional/batch campaigns
- Should suppress duplicate welcome emails set to true
- For both the Marketing Email Header and the Transactional Email Header tabs
- From Name
- The sender's name that displays in the email header
- From email
- Enter the sender's email address, which is associated with the from name.
- The from email can differ from the reply to email.
- Reply to email
- Enter the email address to which replies should be sent. When a customer replies to the email, this email address is automatically used.
- The reply to email can differ from the from email.
- From Name
SendGrid webhook
If you are using your own SendGrid account, you can set up a webhook in SendGrid to send Bluecore email events:
- In SendGrid, navigate to Mail Settings > Event Notifications.
- Turn on Event Notifications.
- Enter the Post URL:
https://api.bluecore.com/api/sendgrid/webhook - Select the following actions:
- Bounced
- Clicked
- Deferred
- Delivered
- Dropped,
- Opened
- Mark as Spam
- Unsubscribed From